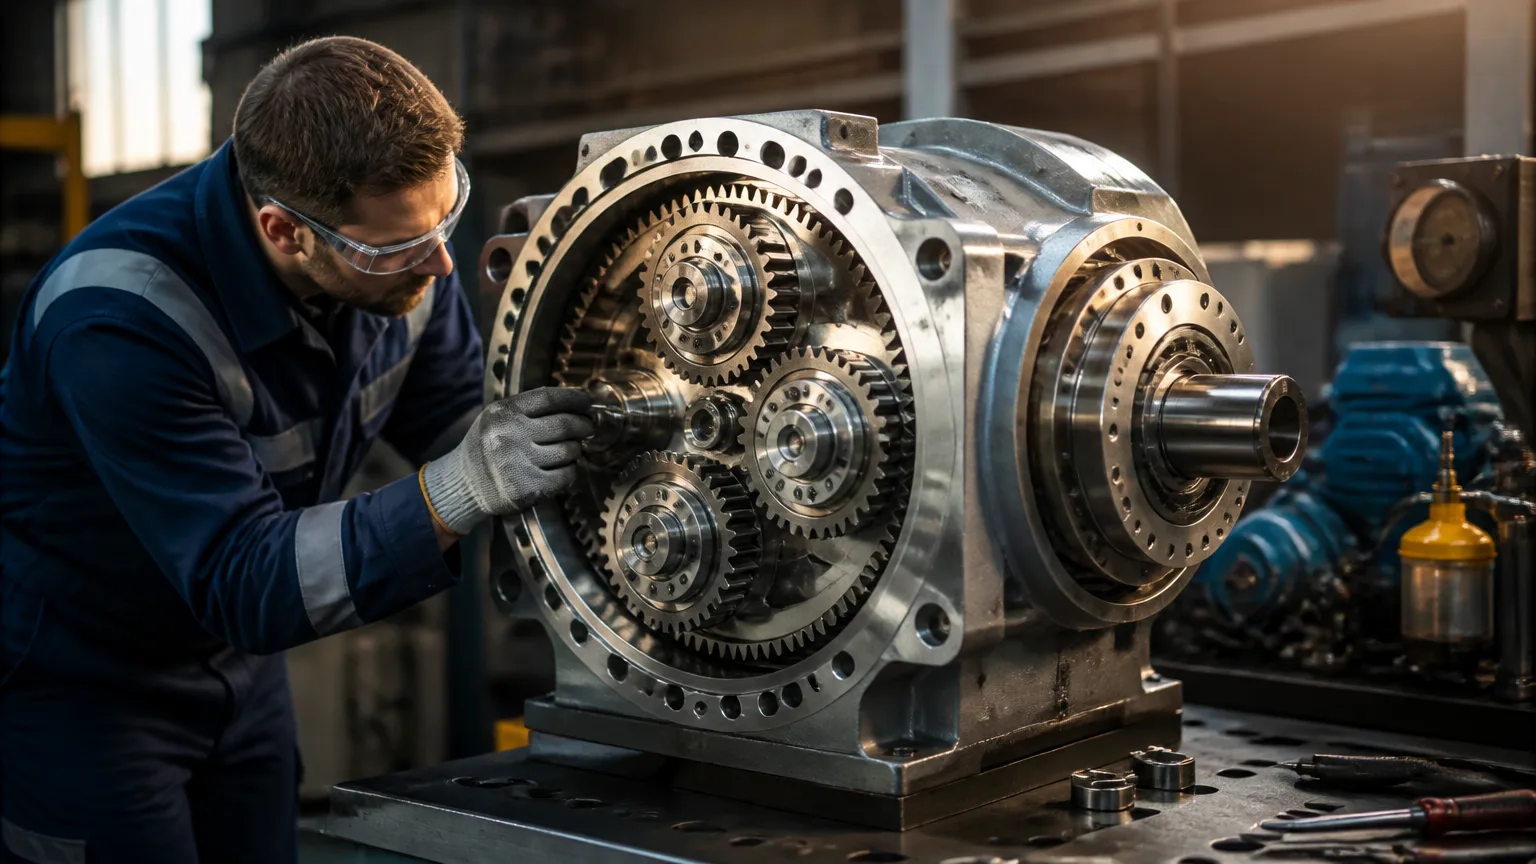
To repair gearbox equipment effectively, treat the work as a structured reliability and cost-control process—not a quick component swap. Industrial gearboxes run under continuous torque, vibration, heat, contamination, and changing loads. A failure can therefore damage connected equipment, disrupt an entire production line, and create costly unplanned downtime.
This guide supports maintenance managers, plant engineers, and manufacturers with a safe, repeatable repair approach. Repair strategies depend on gearbox design, duty cycle, and failure mode. For example, Dodge gearbox repair requires model-specific knowledge, correct parts, and precise inspection. Early diagnosis also helps determine whether repair offers reliable value or replacement is the better solution.
1. Diagnose the Failure Before Opening the Gearbox
Before you repair a gearbox, confirm that the gearbox is the actual source of the problem. Investigate abnormal noise, rising temperature, oil leakage, vibration, backlash, reduced output speed, or unexpected load behavior. Check the motor, coupling, shafts, bearings, and driven equipment for similar symptoms.
Review maintenance records, oil analysis, vibration readings, operating loads, and recent process changes. Note when the symptoms began and whether the failure followed an overload, jam, startup event, or change in production conditions. For example, coupling misalignment can create vibration that appears to be an internal gearbox fault.
Inspect lubrication levels, oil condition, seals, mounting surfaces, and shaft alignment before disassembly. Contaminated or incorrect oil can cause overheating and accelerated wear. Excessive backlash or low output speed may indicate damaged gears, but slipping couplings and motor problems can produce similar results.
Apply lockout/tagout and isolate all electrical, mechanical, hydraulic, and pneumatic energy before work begins. Secure guards and document the gearbox’s mounting orientation, connections, shims, and cable locations. Accurate evidence and careful documentation support root-cause analysis. They also prevent a repaired gearbox from failing again because of unresolved misalignment, overload, contamination, or poor lubrication.
2. Remove and Disassemble the Gearbox Systematically
Before you remove the gearbox, isolate power, drain lubricant, and clean the exterior. Photograph every connection, mounting position, shim pack, cable, and fastener. Record shaft measurements, gear timing, bearing orientation, and the position of seals and spacers. These details preserve evidence and support accurate reassembly.
Mark each shaft, housing, cover, and accessory with durable labels. Keep fasteners grouped by location, and record their sizes and tightening requirements. Place small components in labeled containers. This prevents parts from being mixed or returned in the wrong configuration.
Use suitable lifting equipment for heavy industrial assemblies. Support the gearbox before removing mounting bolts, and follow the manufacturer’s removal sequence. Approved pullers, presses, lifting fixtures, and soft-faced tools reduce the risk of bending shafts or distorting housings. Avoid improvised wedges, hammers, or excessive heat that can create additional damage.
Disassemble one stage at a time, inspecting parts as they become accessible. Photograph wear patterns, broken teeth, fretting, and contamination before cleaning them away. Application-specific work may require specialized procedures and parts; Eagle Iron Works gearbox repair is one example where heavy-duty equipment demands careful planning.
3. Inspect, Measure, and Replace Damaged Components
Clean each component with the approved solvent before inspection. Remove debris without erasing wear evidence, then record dimensions, clearances, backlash, and bearing fits against the manufacturer’s specifications.
Check gears for pitting, scoring, tooth wear, cracks, spalling, and abnormal contact patterns. Inspect bearings for discoloration, brinelling, roughness, looseness, and damaged rollers or races. Measure shafts for runout, distortion, fretting, and worn fits. Housings also require checks for cracks, distortion, fretting, and damaged bearing bores.
Replace seals whenever they are hardened, cut, leaking, or removed during disassembly. Evaluate fasteners for stretching, corrosion, damaged threads, and correct grade. Verify lubrication passages, jets, filters, and breathers are clear and correctly installed. Blocked passages can quickly damage a repaired gearbox.
Inspection results determine the repair scope. Minor wear may justify replacing individual bearings, seals, gears, or fasteners. Excessive shaft or housing damage may require a complete assembly or gearbox replacement. Replacement parts must match original material, hardness, dimensions, ratios, load capacity, and operating environment.
Planetary gearboxes demand added precision. Sun gears, planet gears, carriers, and ring gears must align correctly and share loads evenly. Review this planetary gear repair guidance when multiple interacting components show wear. If alignment or load sharing cannot be restored, replace the complete assembly.
4. Reassemble, Test, and Decide When Replacement Is Better
Reassemble the gearbox to the manufacturer’s specification. Install bearings, seals, gears, shims, and fasteners in the correct positions and orientation. Confirm shaft clearances, gear backlash, alignment, lubrication level, and fastener torque values before closing the housing.
Rotate the shafts by hand first. They should move smoothly without binding, tight spots, or abnormal contact. Next, run the gearbox at low speed without load. Check temperature, vibration, oil leaks, and noise, then increase the load progressively while recording results. Do not return the unit to production until performance remains stable under its normal duty cycle.
A successful repair gearbox decision also considers future operating risk. Replacement may be more practical if the housing is distorted, critical components are obsolete, or repair costs approach the price of a new unit. Shorter lead times, improved efficiency, available spares, and reduced downtime can justify replacement even when repair is technically possible.
For legacy equipment, compare compatible modern alternatives against the original gearbox’s ratio, torque, mounting, service factor, and operating environment. Resources such as Nord vs. Radicon gearboxes can support this evaluation. Choose the option that provides the lowest lifecycle cost and the strongest long-term maintainability.
Build a Repair Plan That Prevents Repeat Failures
A reliable repair gearbox workflow starts with diagnosis, equipment isolation, and complete documentation. Disassemble carefully, inspect and measure every critical component, rebuild to specification, test under controlled conditions, and monitor performance after installation.
Retain inspection records and investigate root causes—not just visibly damaged parts. Establish lubrication and vibration-monitoring schedules to protect reliability. For large, obsolete, or application-critical units requiring specialized machining or testing, Western gearbox repair support can reduce risk and prevent repeat failures.