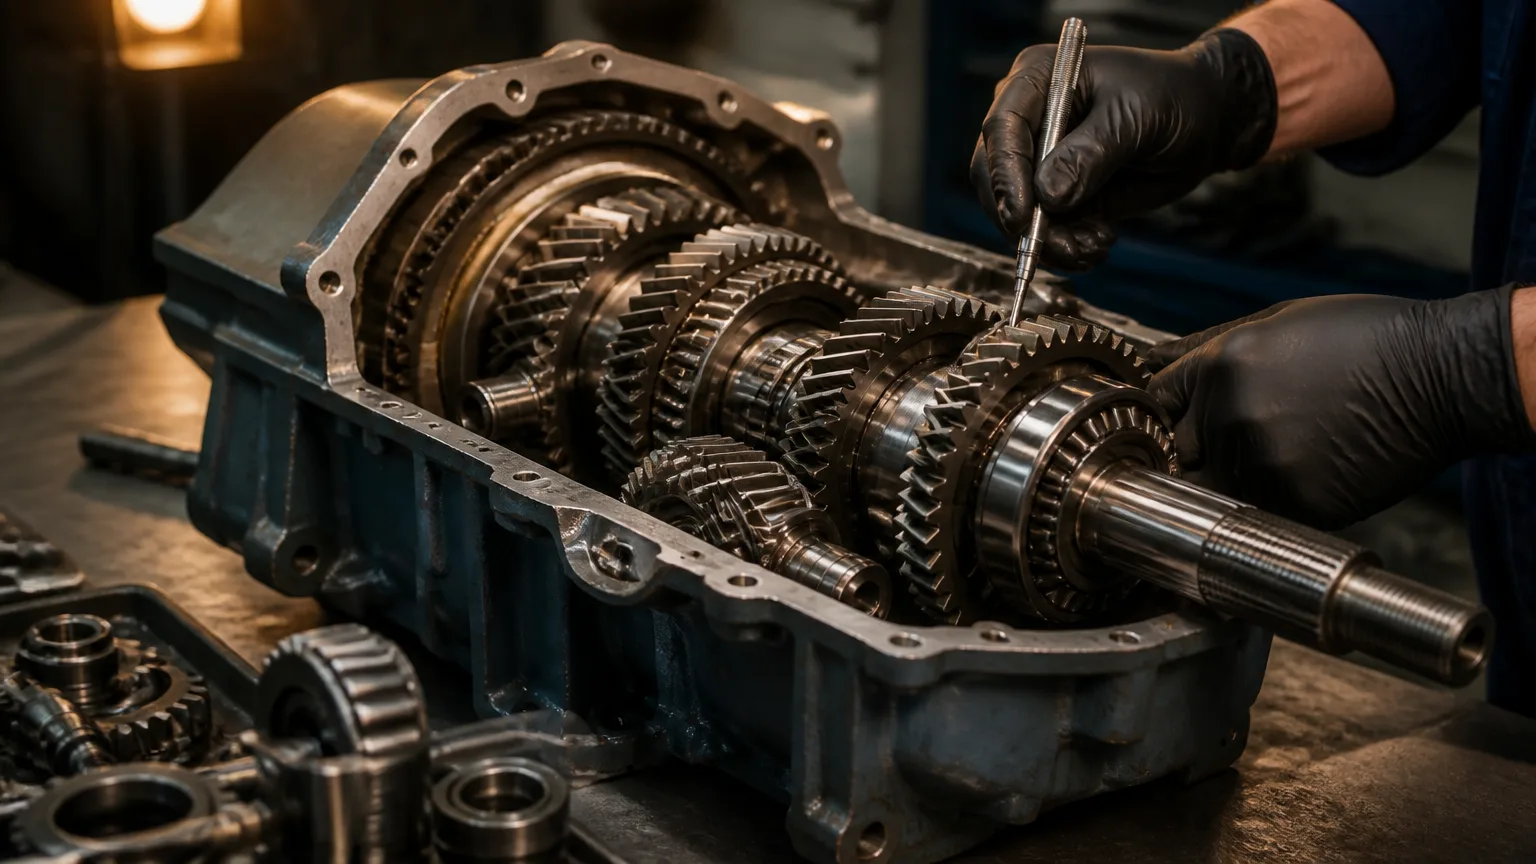
Rebuilding a gearbox is an engineering and maintenance decision, not simply a matter of replacing damaged parts. The process begins by evaluating operating conditions, failure evidence, repair scope, and lifecycle costs. When performed correctly, rebuilding a gearbox restores reliable torque transmission, shaft alignment, lubrication, and load capacity while addressing the failure’s root cause.
A professional rebuild differs sharply from an improvised repair. It requires documented inspections, precision measurements, compatible components, and verification against the driven equipment’s demands. Engineers must also determine whether the existing housing, gears, bearings, and seals can support continued service.
This practical approach helps manufacturers and industrial facilities decide whether rebuilding is preferable to replacement. With guidance from Industrial Gearbox Solutions, you can assess the gearbox’s condition, define the appropriate repair scope, and authorize work with greater confidence.
1. Confirm the Failure and Define the Rebuild Scope
Before rebuilding a gearbox, document its condition while it is still installed. Abnormal noise or vibration may indicate damaged gears, worn bearings, shaft misalignment, or looseness. Overheating and contaminated oil can point to lubrication failure, seal damage, or internal wear. Backlash and declining output speed may signal gear tooth damage, shaft problems, or excessive bearing clearance.
Collect supporting information before removing the unit. This evidence helps separate the original failure from damage caused during handling or disassembly.
- Operating history, maintenance records, and load information
- Oil samples and laboratory analysis
- Vibration data, temperature readings, and operating speeds
- Photographs of the gearbox, connections, oil condition, and surrounding equipment
During teardown, inspect gear tooth patterns, shafts, keys, housings, bearings, seals, fasteners, and lubrication passages. Record measurements and compare them with the manufacturer’s tolerances. These findings establish whether components remain serviceable and prevent unnecessary replacement.
The final rebuild scope may involve only seals and bearings. More extensive work could require gear replacement, shaft repair, housing restoration, or a complete rebuild. A documented assessment gives the repair team a clear plan and helps control cost, schedule, and performance risk.
2. Evaluate Parts, Tolerances, and Compatibility
Inspect each component against documented tolerances, not appearance or availability. Gears may be reusable when tooth wear is uniform and contact patterns remain correct. Pitting, scoring, cracks, profile damage, or signs of overload and misalignment usually require replacement or specialist repair.
Evaluate bearings by checking raceways, rolling elements, clearances, and fits. Also measure shaft runout, housing bore condition, keyways, and coupling interfaces. Damaged fits can create movement, vibration, and premature failure, even with new bearings. Inspect seals and fasteners as well; hardened seals, stretched threads, or compromised fasteners can undermine the rebuild.
Replacement gears must match the required geometry, metallurgy, hardness, and load rating. Confirm tooth count, pressure angle, helix, backlash, and contact pattern during assembly. Use measured dimensional records for shafts, bores, and mounting surfaces rather than selecting parts solely because they look similar.
Compatibility also depends on the operating application. Review ratio, torque, service factor, input and output speed, mounting arrangement, and duty cycle before approving components. These reducer equipment selection principles can guide decisions: reducer equipment selection. A gearbox rebuilt with incorrect ratings may fit physically but fail under actual loads, making careful evaluation essential when rebuilding a gearbox.
3. Rebuild the Gearbox with Controlled Precision
Begin with thorough cleaning to remove oil, debris, corrosion, and embedded contaminants. Clean components make defects easier to identify and prevent abrasive particles from damaging new bearings or gears. Use non-destructive inspection, such as magnetic particle or dye penetrant testing, where appropriate.
Measure housing bores, shafts, mounting surfaces, and gear teeth against engineering specifications. Precision machining or restoration may be necessary for worn bores, damaged fits, distorted flanges, or misaligned mounting surfaces. Protect the housing during machining, since small dimensional errors can affect gear alignment and bearing life.
During assembly, install gears and bearings using the specified fits, clearances, preload, backlash, endplay, and contact patterns. These values should be verified with calibrated tools, not estimated during installation. Check shaft alignment before securing the housing and confirm that rotating components turn smoothly without abnormal resistance.
Install seals carefully, protect their lips from damage, and apply the correct fastener torque sequence. Select lubrication based on load, speed, temperature, gear type, and manufacturer requirements. Keep the work area, tools, oil, and internal components clean to control contamination.
Specialized work may require model-specific documentation, legacy parts research, and manufacturer-equivalent procedures. For example, a Baker Hughes gearbox rebuild may depend on historical drawings or specialized fit data. Document measurements, torque values, clearances, and test results throughout the rebuild.
4. Test, Install, and Prevent a Repeat Failure
Before returning the rebuilt gearbox to production, complete a shop test or controlled run-in. Check rotation, backlash, noise, vibration, temperature rise, leakage, and load response. Record results against the gearbox’s specifications and investigate any abnormal trend before shipment.
During installation, verify coupling alignment, shaft position, base rigidity, mounting bolts, lubrication level, and guard fit. Confirm the gearbox matches the driven equipment’s speed, torque, duty cycle, and starting load. Incorrect alignment or compatibility can damage a properly rebuilt unit.
Commissioning data should establish a baseline for future vibration, temperature, oil condition, and inspection trends. Review the original failure for overload, shock loading, poor alignment, contaminated lubricant, incorrect oil viscosity, inadequate cooling, or delayed maintenance. Correct these conditions, then define inspection intervals and operating limits to prevent repeat failure when rebuilding a gearbox.
Make the Rebuild a Reliability Decision
Rebuilding a gearbox delivers lasting value when the root failure mechanism is understood and every critical interface is measured, restored, and documented. Inspection findings, component specifications, precision assembly, testing criteria, and preventive maintenance should form one reliability decision—not separate repair steps.
Before approval, request the scope of work, parts specifications, test results, warranty terms, and expected turnaround. Professional gearbox repair diagnosis and service options can help compare rebuilding with replacement when damage, obsolescence, downtime, or operating demands complicate the choice. Evaluate lifecycle value, not immediate repair cost alone.