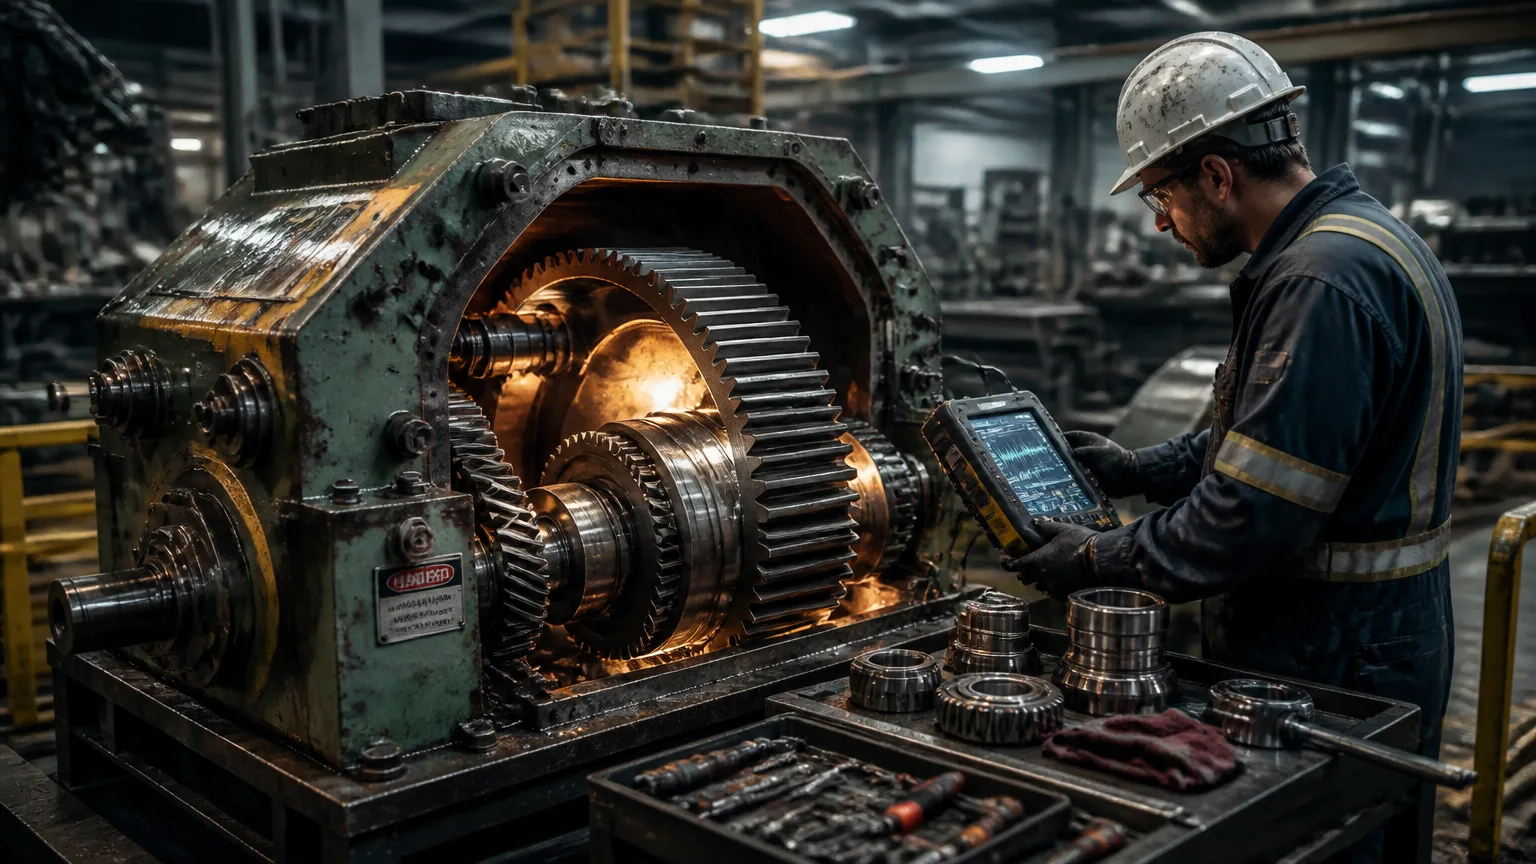
When abnormal noise, overheating, rising vibration, or contaminated oil appears, a gearbox problem can quickly become an unplanned production stoppage. Emergency gear repair must therefore begin before the equipment fails, with early warning signs treated as actionable information.
Reducing downtime depends on preparation and accurate diagnosis, not simply finding the fastest available repair. Maintenance teams need reliable operating data, inspection findings, and access to qualified specialists who can identify the failure’s root cause and recommend practical next steps.
A capable repair partner can assess whether repair, refurbishment, or replacement best fits the application, timeline, and budget. Industrial Gearbox Solutions provides specialized gearbox repair and replacement support to help plants make that decision with confidence. The right response can restore production faster while preventing a repeat failure.
1. Stabilize the Failure and Gather the Right Information
When a gearbox shows signs of failure, protect personnel before investigating the equipment. Follow lockout/tagout procedures, complete a safe shutdown, and verify that stored energy has been released. If lubricant is leaking, contain it to prevent slips, environmental damage, and further contamination.
Do not remove or disassemble the unit until operating conditions are documented. Record the gearbox model or serial number, ratio, service factor, motor details, load, operating speed, and lubricant type. Also note recent maintenance, oil changes, alignment work, overloads, and other relevant events.
Provide the repair provider with a clear description of the failure. Include unusual noise, vibration, heat, leakage, reduced output, or changes in operating performance. State when the symptoms began and whether they appeared suddenly or developed over time.
Useful information includes:
- Photos of the gearbox, nameplate, mounting arrangement, and damaged areas
- Vibration and temperature readings, including measurement locations
- Lubricant samples, oil condition, and any visible debris
- Recent operating changes, alarms, trips, or load increases
This information can accelerate parts identification and repair planning. It helps the provider determine whether emergency gear repair, component replacement, or a complete exchange unit is the fastest safe option. Thorough documentation also reduces repeated troubleshooting and prevents secondary damage during removal.
2. Diagnose the Root Cause Before Choosing a Repair
Before starting emergency gear repair, identify why the gearbox failed. A rushed component swap may restore operation briefly, but the same fault can quickly damage the replacement part.
Use symptoms as clues, not conclusions. Noise or vibration may indicate bearing wear, misalignment, shaft damage, or a loose keyway. Excessive heat can point to overload, poor lubrication, or incorrect alignment. Oil debris may reveal bearing spalling, gear tooth damage, seal failure, or contamination. Chipped, pitted, or broken teeth can result from overload, impact, inadequate lubrication, or foreign material.
A reliable assessment examines the complete drive system. Inspect the housing, shafts, bearings, gears, seals, lubrication condition, couplings, and connected equipment. Check for soft mounting surfaces, coupling wear, restricted breathers, and driven-machine problems. Treating one visibly damaged part in isolation can leave the original failure mechanism unresolved.
Replacement parts and substitute gearboxes must also match the application. Confirm speed, service factor, duty cycle, mounting, and required torque before approving the repair. Proper industrial gearbox torque calculations help verify that the selected components can handle operating and peak loads. This prevents an undersized replacement from creating another emergency.
3. Decide Between Rebuilding, Replacing, or Using a Temporary Unit
The next decision is whether to rebuild the failed gearbox, install a replacement, or use temporary equipment. The best option depends on damage, component availability, production demands, and long-term value.
Rebuilding is practical when the housing remains serviceable, replacement components are available, and the existing design still suits the application. Inspection must confirm that the gears, shafts, bearings, and seals can be restored safely. A professional gearbox rebuilding process includes inspection, precise measurements, parts replacement, reassembly, and testing—not just changing one failed component.
Replacement may reduce downtime when internal damage is extensive or the housing is cracked, distorted, or otherwise unusable. It can also be the better choice when components are obsolete or repair costs approach the price of a suitable replacement gearbox.
A temporary or rental unit can restore production while a specialized rebuild is completed. Before installation, verify:
- Ratio, torque capacity, speed, and service factor
- Mounting arrangement and shaft dimensions
- Lubrication requirements and operating temperature
- Coupling compatibility, alignment, and available space
This approach can support emergency gear repair without forcing a rushed permanent decision. However, temporary equipment must meet the application’s mechanical and operating requirements to avoid secondary failures.
4. Coordinate a Faster Repair and a Controlled Return to Service
Once the repair path is selected, provide complete specifications, failure evidence, photos, and operating data immediately. Confirm turnaround expectations and clarify whether the provider supports disassembly, shipping, machining, parts sourcing, installation, or field service.
Verify every replacement gearbox, gear, bearing, and seal against the application before shipment. Confirm speed, torque, service factor, mounting, lubrication, and coupling requirements. Model-specific guidance is essential; Western Gear gearbox repair and replacement guidance can help confirm compatible parts or equivalent units.
Installation quality protects the repaired gearbox from another failure. Check shaft alignment, inspect the coupling, torque fasteners correctly, fill the specified lubricant, and verify seals.
Use a staged startup. Rotate and inspect the drive, then run it at low or no load when appropriate. Monitor temperature and vibration before increasing load gradually. Document baseline readings, sounds, and operating conditions to support ongoing emergency gear repair decisions.
Build an Emergency Gearbox Response Plan Before the Next Failure
A reliable response follows a clear sequence: make the equipment safe, document the failure, identify its root cause, choose repair or replacement, and verify return to service. Facilities should predefine critical spares, escalation contacts, inspection data, and approval criteria before an emergency occurs.
Maintain accurate equipment records and qualified repair relationships, including Lufkin gearbox repair and replacement options. After each emergency gear repair, use inspection findings to strengthen preventive maintenance. The fastest repair restores dependable production without creating another unplanned shutdown.